If you’re venturing into the world of vinyl, understanding how to maintain your turntable needle is paramount. In this comprehensive guide, we’ll explore the impact of a dirty stylus on your listening experience and delve into the steps required to ensure its optimal performance.
How Dirty Stylus Impacts Sound Quality
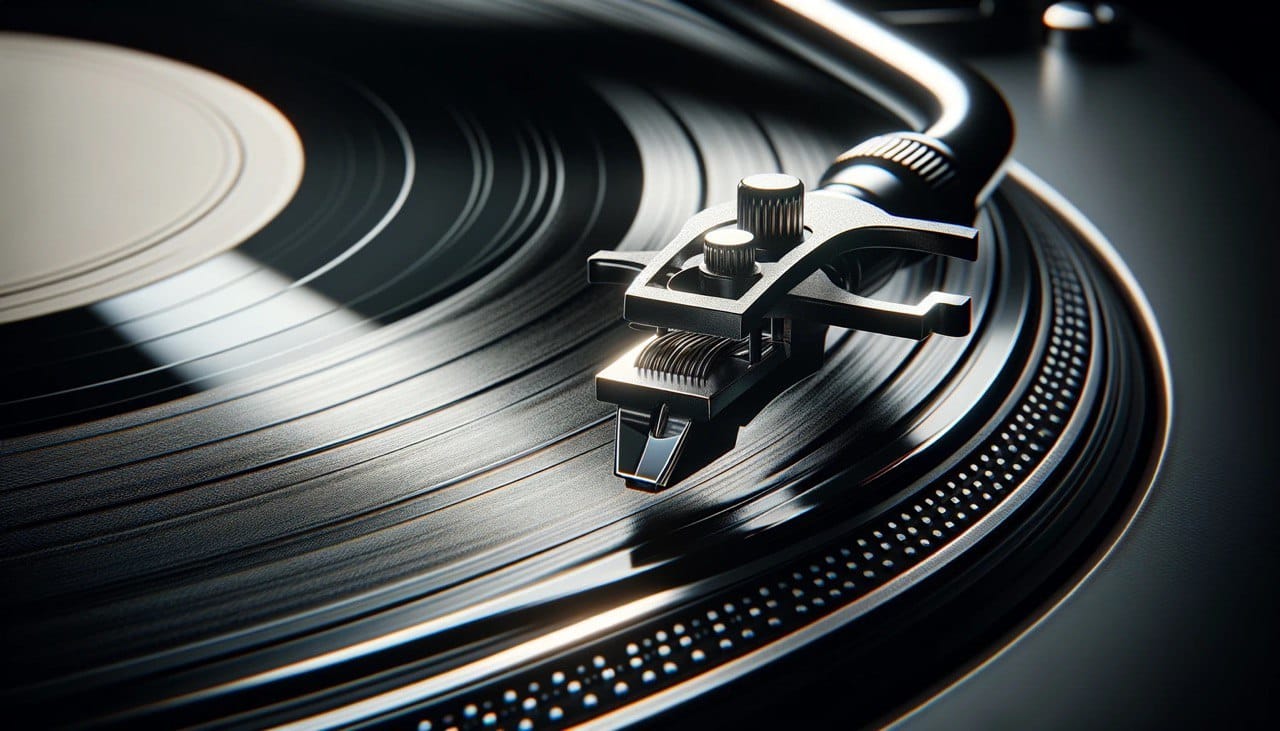
Clean record player needles are crucial for preventing playback issues. When dust interferes with the stylus reading the record grooves properly, you may experience scratching or popping sounds. Additionally, a dirty stylus contributes to record skipping and hastens wear, affecting both sound quality and your wallet.
Maintaining Turntable Hygiene: Surface Noise Solutions
Surface noise, often preventable, can result from dust, static, or a dirty stylus. Prioritize clean records, regular stylus maintenance, and a quality record brush.
Surface noise, a common gripe in the vinyl experience, finds its roots in various factors such as dust, static, and an unclean stylus. To combat these auditory disruptions start with a foundation of clean records, employing a reliable record brush to eliminate dust before each play. Regular stylus maintenance is equally crucial, ensuring that the delicate needle remains free from debris and maintains optimal contact with the record grooves.
Essential Tips for Stylus Cleaning

Before embarking on stylus cleaning, here are key tips for enthusiasts:
- Frequency of Cleaning: Aim to clean the needle once a week, or every other week for infrequent listeners.
- Knowing When to Clean: The first static encounter likely signals the need for cleaning, as most needles last around 1,000 hours.
- Brushing Technique: Brush the stylus in the direction of the record spin to avoid cantilever damage.
- Pre-Play Routine: Use an anti-static record brush before each play, even if the stylus looks clean.
- Deep Cleaning: Employ a stylus cleaning solution for a thorough cleanse or opt for a gentler gel pad.
Step-by-Step Cleaning Process
Follow these steps using a stylus cleaning brush:
- Select a Stylus Cleaner: Choose a cleaner designed for records or use distilled water as a last resort.
- Apply the Solution: Use a minimal amount on the brush.
- Brushing Motion: Move the brush along the needle, adhering to the record spin direction.
- Repeat as Necessary: Continue until no more grime is visible.
Alternative Cleaning Methods
Explore alternative methods like the cleaning gel-based kit or the unconventional Mr. Clean Magic Eraser technique, ensuring caution and precision in execution.
In the pursuit of pristine sound quality, vinyl enthusiasts often seek alternative methods for stylus cleaning, moving beyond traditional brushes and solutions. Two unconventional yet effective techniques are the cleaning gel-based kit and the Mr. Clean Magic Eraser approach. Here is more details
Cleaning Gel-Based Kit
The cleaning gel method involves using specialized products like the Onzow Zerodust stylus cleaner. This kit typically consists of a gel pad that boasts exceptional softness. The process is straightforward:
- Lowering the Stylus: Gently lower the stylus into the gel pad.
- Lifting and Repeating: Lift the stylus and repeat until the stylus tip is free of dust and debris.
This method is praised for its precision and ease of use. However, it’s crucial to exercise caution to prevent the cleaning gel from coming into contact with other parts of the turntable, as it can be challenging to remove.
Mr. Clean Magic Eraser Technique explained
The Mr. Clean Magic Eraser, commonly associated with household cleaning, has found an unconventional application in stylus maintenance. Here’s how to execute this method:
- Preparing the Eraser: Cut a small piece of the Mr. Clean Magic Eraser, ensuring it’s the untreated, all-white side.
- Placing on Turntable: Position the eraser on the turntable, where the tonearm can easily reach.
- Lower the Stylus: Gently lower the stylus onto the eraser, repeating the process two to three times or until debris is removed.
This DIY technique is cost-effective and has gained popularity within the audiophile community. However, users must exercise care not to press too hard on the eraser, as excessive force could damage the stylus.
How to [NOT] Clear Your Turntable Needle. “Don’ts” and Best Practices of Alternative Cleaning:
- Avoiding Gel Spillage: When using the gel-based kit, take care to prevent spillage onto the cartridge or other turntable components.
- Selecting the Right Eraser: Ensure the Mr. Clean Magic Eraser used is the untreated, all-white version, as colored or treated erasers may contain abrasive elements.
- Gentle Application: Whether using a gel pad or Magic Eraser, gentle application is paramount to prevent damage to the delicate stylus and its components.
Might interest you:


Incorporating these alternative cleaning methods into your stylus maintenance routine offers diversity and effectiveness. Experiment with these techniques, always prioritizing precision and care, to discover the method that best suits your preferences and equipment.
Beyond the Needle: General Vinyl Record Care
Recognize that clean records are integral to a pristine stylus. Adopt circular motion cleaning and proper storage practices to enhance your vinyl experience.
Embrace a meticulous approach to vinyl record maintenance by employing circular motion cleaning techniques. Whether your collection includes vintage classics or recent releases, make it a habit to clean records in a circular motion, moving from the inner grooves outward. This practice ensures a thorough removal of dust and prevents scratches on the vinyl surface.
Furthermore, proper storage practices are paramount. Utilize inner and outer sleeves to shield records from dust, and store them upright in an environment with optimal temperature and humidity. Investing in a turntable cover adds an extra layer of defense against dust accumulation, safeguarding both your vinyl records and the stylus.
Recognizing Stylus Cleaning Frequency
Understand the signs and recommendations for stylus cleaning frequency. Regular cleaning habits and turntable dust protection can significantly impact your stylus’s lifespan.
Best Methods for Stylus Cleaning
Explore various cleaning methods, from the Magic Eraser to stylus brushes and dedicated cleaning solutions. Each method offers simplicity and effectiveness.
Methods for Stylus Cleaning: Your Diverse Maintenance Toolkit
Explore a variety of stylus cleaning methods, each offering unique advantages:
- Magic Eraser Method: An unconventional yet effective choice for gentle stylus cleaning. It involves lowering the stylus onto a small piece of the Magic Eraser, effectively removing debris.
- Stylus Brush: Embrace a traditional approach with dedicated stylus brushes, designed with precision to ensure meticulous care. Remember to brush gently from the back to the front, aligning with the record’s spinning direction.
- Cleaning Solution Method: Utilize dedicated cleaning solutions, or even distilled water, for a thorough job. Dip a stylus brush into the cleaning fluid and gently brush the needle, especially effective for stubborn grime.
- Cleaning Gel Method: Products like Onzow ZeroDust provide a gel-based alternative. Lower the stylus into the gel to remove accumulated dirt and dust particles effectively.
When to Replace The Turntable Needle: Signs and Tips
Finally, recognize the signs indicating it’s time to replace your stylus. Learn the importance of selecting the right stylus, careful installation, and proper tracking force adjustment.
When to Replace The Turntable Needle: A Crucial Stylus Transition
Understanding the signs signaling the necessity for stylus replacement is paramount for preserving both your vinyl records and listening experience. Watch out for these indicators:
- Increased Distortion: If your records start sounding distorted, even with proper maintenance, it’s a sign your stylus may be reaching the end of its lifespan.
- Loss of Treble: Muffled or muted treble frequencies suggest the stylus isn’t tracking the grooves effectively, indicating potential wear.
- Frequent Skipping: Persistent skipping, despite balanced turntable settings, can be a clear sign of stylus damage or wear.
- Visible Damage: Inspect your stylus carefully; any visible damage, such as a bent or chipped tip, warrants immediate replacement.
When it’s time for a stylus change, ensure you choose the correct stylus for your turntable cartridge. During installation, handle the delicate cantilever with care, and follow the manufacturer’s instructions for tracking force adjustment. By recognizing these signals and adhering to proper replacement practices, you safeguard your records and sustain the integrity of your vinyl collection.
Bottom line
In essence, mastering the art of turntable maintenance goes beyond stylus cleaning—it’s a holistic approach to preserving the essence of vinyl. Embrace these practices, and your vinyl journey will be one of timeless, crystal-clear melodies.


Leave a Reply